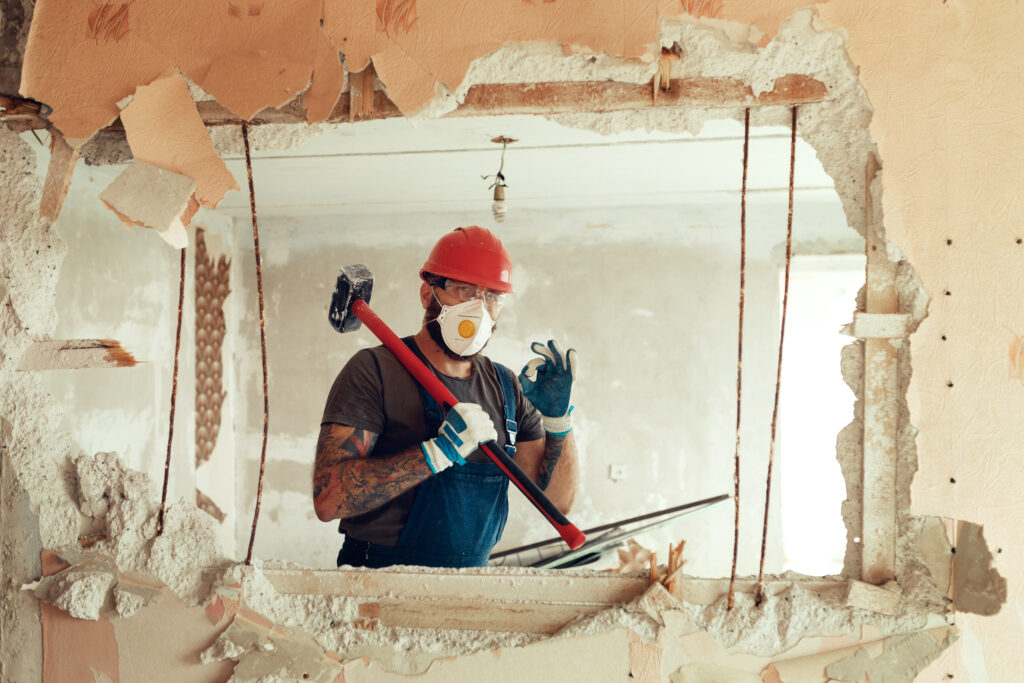
If you are looking to demolish and remove an old shed on your property, it’s important to understand the process involved. Shed removal can be a complex job and requires specialized tools for demolition and disposal. Here is a step-by-step guide to help you through the entire process:
Note: The best idea if you don’t have the proper tools, knowledge, and experience is to call a local demolition contractor who can complete the job.
1. Preparation – Before you start the process, ensure that all safety precautions have been taken and that the area around the shed has been cleared of any obstructions or hazards. Check with local authorities if obtaining permits is necessary in order for you to begin work on removing your shed.
2. Demolition – After preparing for Shed Removal, use power tools or hand tools to dismantle your Shed into small pieces as much as possible. Separate large pieces from small, and collect all debris in a tarp for disposal.
3. Disposal – After demolition has been completed, decide how you want to dispose of the Shed debris. Contact local authorities or junk removal companies to arrange for Shed debris pickup and disposal according to local regulations.
4. Cleanup – Once Shed debris has been properly disposed of, clean up the area around the Shed site and make sure all tools used have been put away.
By following these steps, you can safely and efficiently demolish and remove your Shed from your property. It is important to follow the proper procedure in Shed Removal as incorrect demolition or disposal methods can lead to penalties from local authorities. If you are unsure of any steps, it’s best to hire a professional demolition contractor for assistance. If you are a demolition contractor and are looking for demolition leads, try All Local Pros. They are the best.
With these tips in mind, Shed removal will be simpler and smoother for you! Good luck with your project!


